So I have been wanting to make a Cake Optimist t-shirt for a long time. I looked into custom ordering screen print shirts, but I'm a poor grad student so it never happened. Then I saw this great tutorial on I am Mama Hear Me Roar http://iammommahearmeroar.blogspot.com/search/label/freezer%20paper%20stenciling. I quickly got all the stuff and jumped on it. This is what I ended up with...

If you like video tutorials, please watch hers. It is awesome. As I do most of my blog reading during class, I love the picture/text ones so here is mine.
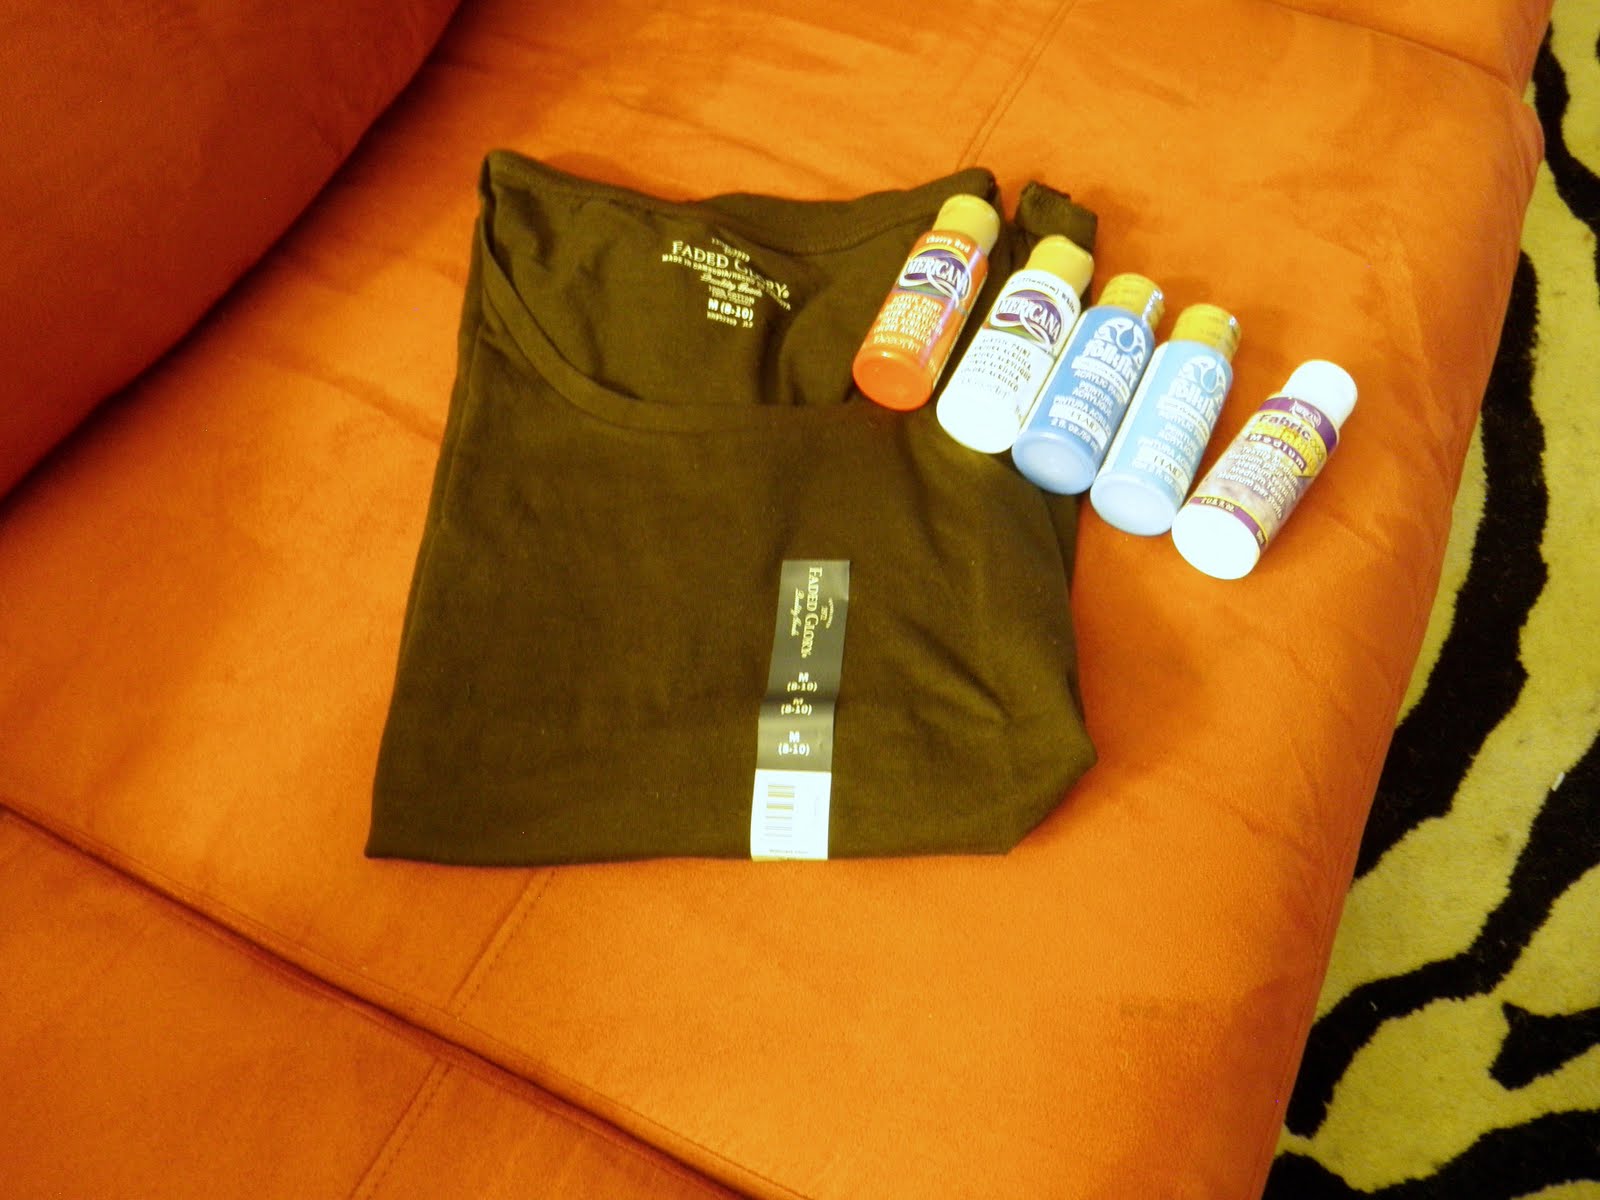
Materials:
t-shirt
design to put on shrit
Xacto knife or other precision knife
freezer paper
tape
board to cut on
cardboard to put inside t-shirt
acrylic paints
fabric paint medium
paint brush
iron
fan
Step 1:
Assemble your supplies and get ready to live. I bought my freezer paper at Wal-Mart for about 6 bucks. It is a HUGE box so share with a friend or make A LOT of t-shirts. If you live around here, come get some of mine. I got the t-shirt at Wal-Mart as well. It was 4 bucks, which I think is pretty good. The paints I got at Robert's Crafts. The paint medium is a paint that you add to acrylic paints to make them fabric ready. I know you can get fabric paints, but I couldn't find them here. The medium was $1.50 and the paints were about $1 each. You can get the regular paints at Wal-Mart, which is just cheaper. I used cake boards for my t-shirt form and I used my quilting board (the one I use with my rotary cutter) to cut on. The Xacto knife was harder to find than I thought. I suggest ASKING, which is something I have never been good at. I ended up buying this set in the tools section at Wal-Mart. It was $8, but I later found a simple knife at Robert's for about $2, so get one of those if you can. I made my design using clipart and workart on Microsoft Word and printed it out.

Step 2:
Take the print out and tape it onto your cutting board. If you do not have a cutting board, I'm sure you could use a food cutting board or a piece of cardboard. The clip art was too hard to cut out, so I made it a little simpler and added a "cherry" on top. SO CUTE.

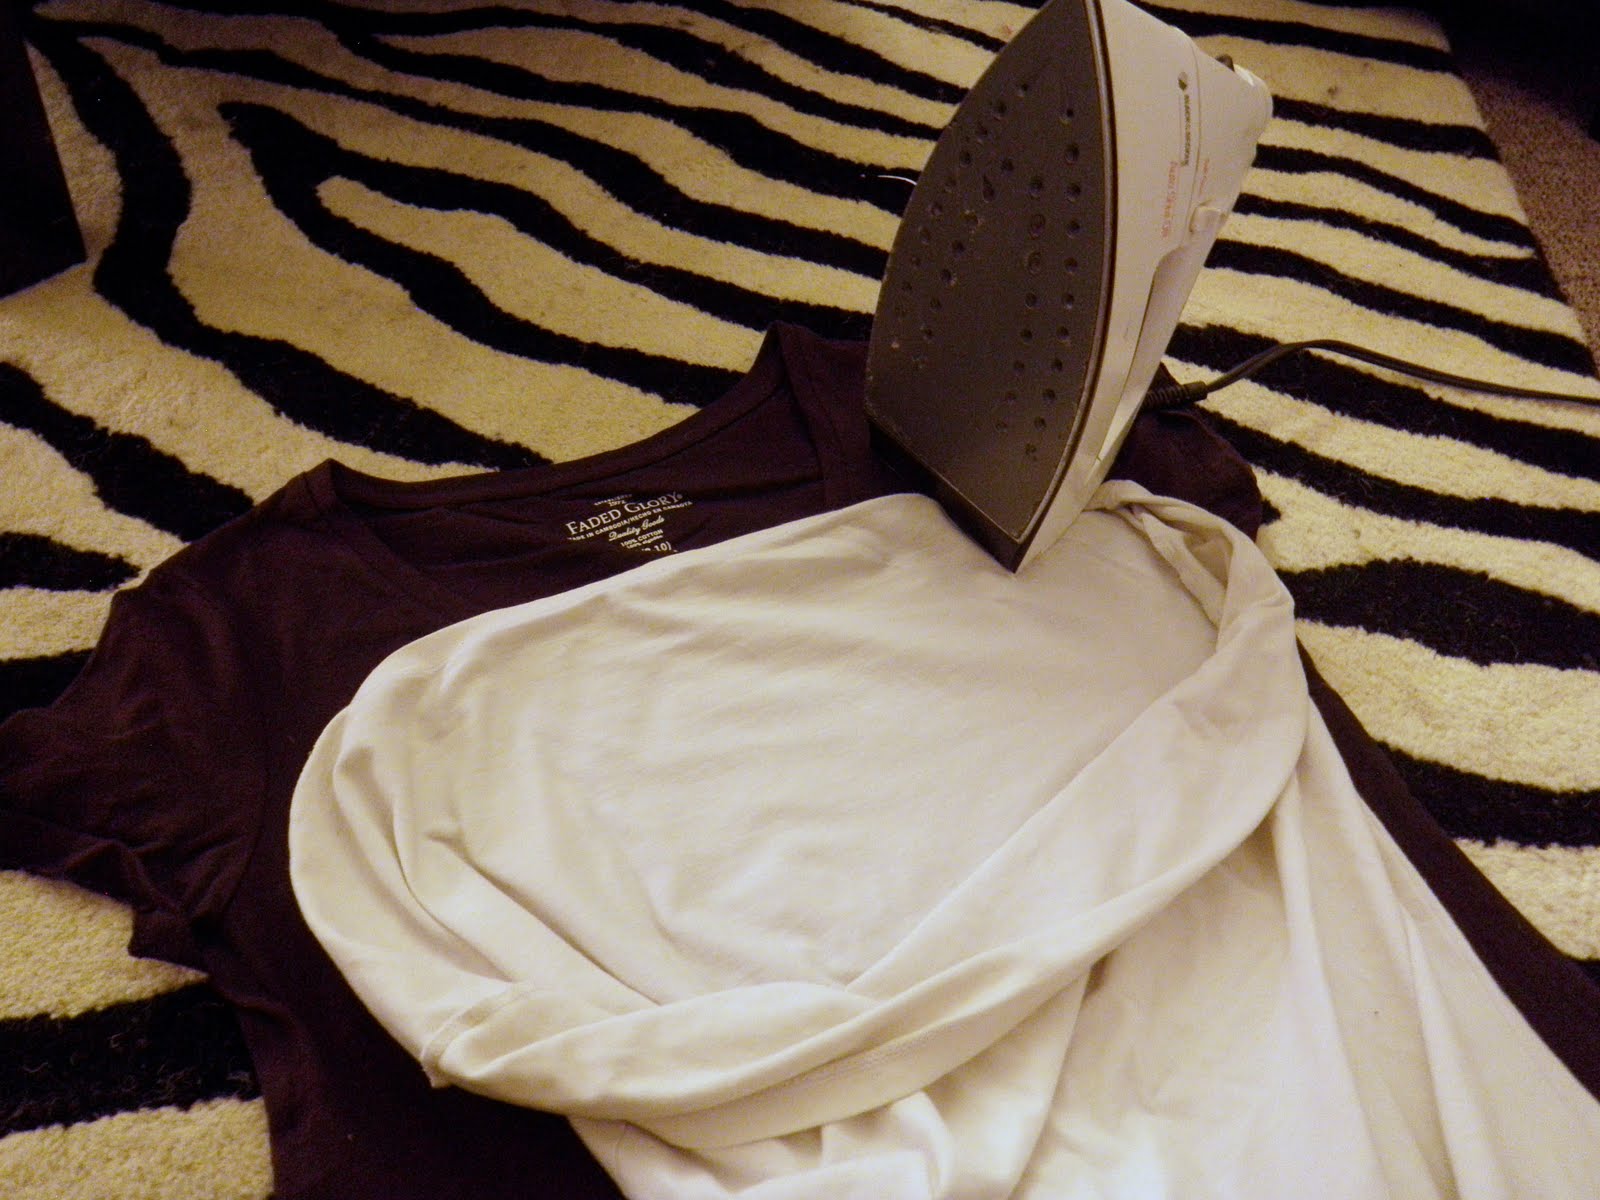
Step 3:
Tape some freezer paper over the design you want. This picture is not very good, but you really can see the design through the paper.
IMPORTANT: Be sure to put the SHINY side DOWN. This way the shiny side can get ironed onto the shirt and your words will be the right direction.

Step 4:
Start cutting. The only trick to this is PATIENCE. I watched Harry Potter while I was doing it and it was not so bad. Just remember that the quality of your stencil will determine the quality of your shirt. Also, try to pick a font that has more straight lines as they are much easier to cut than curved lines. I picked "georgia" font and it was harder than I expected, but I think it still turned out good.

Step 5:
After you get everything cut out, carefully pull the tape off the stencil and assemble the rest of your supplies. Throw away the paper, you are done with it. Get the cardboard inside your t-shirt, spark up your iron, find the right colors of paint, and be excited!
IMPORTANT: Hold onto the little pieces to go inside the letters like "O" and "A". You will iron these in later.


On the left is the fabric painting medium to add to the paint.


Step 6:
Get your shirt as centered at you can on your cardboard. You can buy special shirt shaped cardboard forms at the craft store. Center the stencil design on your shirt, SHINY SIDE DOWN. The freezer paper has plastic coating on one side that you need to make it stick to the shirt. If you screw this up, you will just get a ruined stencil and a dirty iron so be careful. Start to iron on the stencil. Be careful of the little pieces and make sure they are all facing the right direction. Take your tiny pieces and iron them onto their proper letters, also SHINY side down. For the ones that are large enough, like for the big "O", I hold the piece with one hand and ironed half of it with the other so it wouldn't move around, then I ironed the whole thing.

You can see when the stencil is sticking. You don't have to have ALL of the freezer paper stuck down, just around the words like shown.


Step 7:
Mix your paint. For my paints, I needed 2 parts paint to 1 part fabric paint medium. Follow the directions on your bottle. I did this on a plastic disposable plate and it was awesome. Try to find a paint brush with harder bristles. This one is not and it was a pain.

Step 8:
Start to paint! This part is SO FUN! Try to brush from the edge of the stencil towards the center so you don't push paint under the stencil. I didn't do this so well on the red cherry, which you will see later. Paint one coat on everything and put it in front of a fan. You could let it dry for a few hours, but I was in a rush, like usual. With the fan it only takes about a half hour to dry.


Step 9:
Paint at least 2 more coats and let it dry really well between each one. This picture shows you what it looks like with 2 coats vs 1 coat. This last picture was with 3 coats. I think I put 4 on the pink cupcake holder because it was not covering as well.


Step 10:
WAIT, even though it is hard, until it is totally dry. Then, slowly start to pull the stencil off. You can see here that the cherry did not turn out perfect. I got a little bit of red paint under the stencil and you can see it a little on the left side.

Here you can see that the little tiny pieces inside are not coming out. You will need to take the Xacto knife and the cool little tweezers (these came with my knife set) and pull them out.


Step 11:
LAST ONE!!! Now, all you have to do is cover the shirt with another piece fabric and give it a good iron. This "sets" the fabric paint and theoretically allows you to wash it without losing any color. I have not washed mine yet, but I hope it works! Now wear your new creation and be happy!

I also made a Harry Potter shirt, in honor of the last and great movie coming out TONIGHT!!!!

Thanks for reading my first ever big tutorial! Have a nice day!
GOOD JOB. They turned out so great!
ReplyDeleteYou never cease to amaze me!
ReplyDeleteThank you for showing us how to do this!
ReplyDelete